Thursday, December 19, 2019

Dreaming in Florida


Holiday greetings from sunny Florida!  We are actually having a relative cool snap with a low this morning of 39 and the high for today forecast to be 59 degrees.  Yay for sweater weather!  We might even get to have a fire in our fireplace!  

Last weekend our ukulele group got together to play/ring for the Salvation Army, so after singing all those songs about snow, snowmen and sleigh rides, I couldn't resist making a "dreaming of a white Christmas" card with pink flamingos for a little Florida humor.


I love these Consortium papers and the watercolor/grunge papers that coordinate with them.  I enjoy coloring but sometimes when time is short, it's nice to not have to!  Here, the only coloring necessary was to add a touch of pink and sparkle to the baubles on the already green Christmas tree.


More of that cute flamingo paper is on the inside, along with a matted sentiment from our Winter Poinsettia floral cluster set.

Supplies, all from Stamp Simply:

Thursday, December 12, 2019

Two-fer and/or His and Hers


Every once in a rare while, in that "twilight" between sleeping and waking, inspiration will strike!  That is what happened with today's Stamp Simply project!  I woke up with an idea forming in my mind and I'm excited that it turned out just as I had envisioned.  ☺️


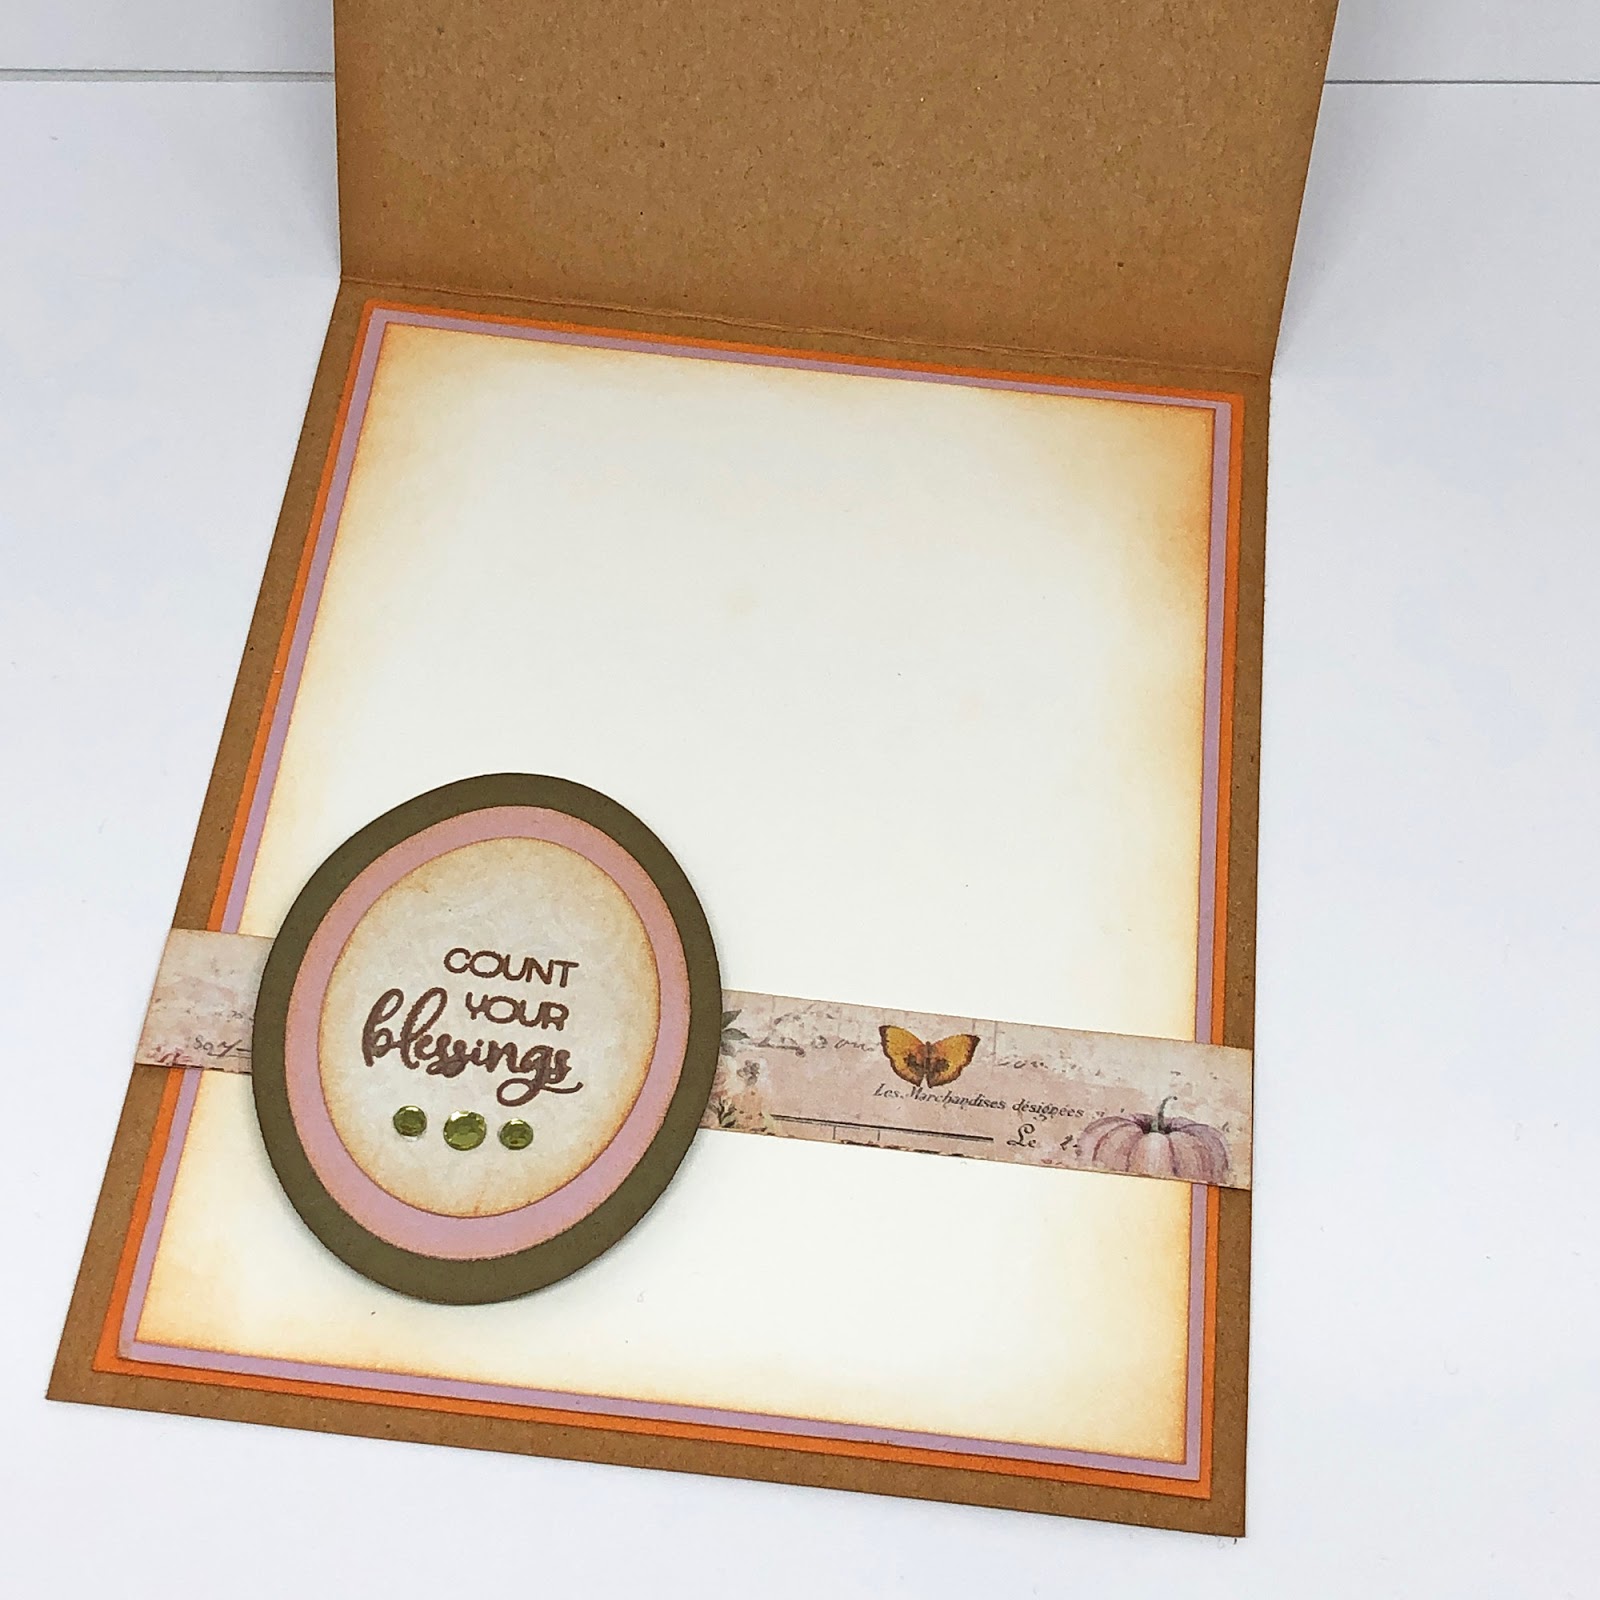
From the outside it looks like any other top-folding standard-sized card...


...but once it is opened there's a surprise, and not just one but TWO!  It's a perfect two-fer for one person, or for his and hers gift cards.  Here's how it was made (much easier to do than it looks/sounds, so give it a try!). All you have to do is add the following to a standard sized card base.  


Score a 4 1/4 x 7 1/2 inch piece of card stock at 1/2, 2, 3 3/4, 4, 5 1/2, and 7 inches.  Fold and burnish the score lines.  The score lines near each end will be "valley" folds, and the wider sections will form the "mountain fold" pockets with two valley folds between them in the center.  


On the wrong side, carefully place a narrow line of glue along the sides of only the wider sections to seal the edges of the pockets.   


It should look like this when the glue is all set.


One pocket at a time, die-cut on the fold, centering the edge of the labels die to form the pocket opening.  You may need to run it through the machine twice to cut through the double thickness. You'll also need to snip through a small portion of the fold (not too close to the edge!) on each side with paper snips to widen the opening so that a gift card will fit inside.  


This is what the bottom of the pockets looks like.  This will be glued securely to the inside of the card with the fold of the lower pocket at approximately two inches from the bottom of the card.


I cut three pieces of designer paper to cover the mechanics of the pockets.   Here are those measurements:
  • 4 1/4 inches wide x a scant 2 inches 
  • 4 1/4 inches wide x a scant 1/2 inch
  • 4 1/4 inches wide x a scant 3 inches
Be sure to check that things open/close and lay flat before you adhere them, and if your paper is directional be sure to align everything correctly.  Isn't it kinda cool that it ends up looking so cleanly finished and almost like a single sheet again after it's glued in place?!  

Here are the supplies used for today's project:

And...I couldn't resist making an "everyday" version of this card, this time with a side fold just to see how that would work out.


The pears were stamped on a piece of Craft Consortium paper, so no coloring, just simple stamping, some clear Wink of Stella, and then fussy cutting.  Isn't the mottled color and that bit of blush just perfect?!  Serendipity.  


Again, I added designer paper to make the inside look more finished.  Here you can see the pockets without the gift cards inserted.  When cutting the decorative papers for the inside of this side-folding card, you will likely need to slightly reduce the width of the decorative paper as well, to accommodate the side fold.

If I were to do it again, I'd add another 1/4 inch to the width of the side-fold card and give it a "spine" like a book to accommodate the extra bulk.  That isn't as much an issue with top-folding as it is with the side-folding version.  

For my second card I used the same products as above, with these additions or substitutions:
I hope you'll try out a two-pocket gift card of your own!  You could easily even add more pockets if you wanted to!

Sunday, December 8, 2019

{906}


Hi y'all!  I'm back with an easy fun "Dutch Door" fold for another Yooper card.  My in-laws live in the {906} "Yooper" area code in the UP of Michigan so I'm having fun making cards with Stamp Simply's new UP stamp set.  


You can probably tell from the photos that the Dutch Door fold is simply a standard card with a portion of the front cut away so that the inside of the top half of the card is visible when the card is closed.

I die-cut a window through some snowy sky designer paper using the upper peninsula die, then aligned the stamp through the window to stamp the card base with Versamark ink.  White detail embossing powder keeps the road map bold, clear and clean against the dark green background.  


After stamping and embossing, I glued the designer paper to the card base, along with a coordinating plaid print along the bottom.   The little truck and quote is one of the many square and rectangular prints from this designer paper pad.  It was a perfect fit and definitely the perfect quote for The Yoop.  Easy peasy, fun, and CUTE!

Supplies:

Thursday, December 5, 2019

Farmhouse Christmas


Hi everyone!  Happy December!  I can't believe Christmas is so close already!  Have you gotten your decorations up?  I'm hoping to tackle that in the next day or two.  Usually they're up by the first weekend in December and stay up through Epiphany.  This weekend though, is an exceptionally busy weekend, so we shall see!

Here in Florida we can only "dream" of a White Christmas.  One year it did get very cold and even icy right before Christmas, but typically one is left wondering whether it will be shorts or sweaters. Today's Stamp Simply project is exactly what I envision when I'm dreaming of a White Christmas.  ðŸŽ¶ ❤️ 


I didn't bother measuring the three panels, just cut them randomly and matted them with harmonizing papers.  I love the way this button-trimmed bow turned out with the soft variegated silk, tulle streaked with Snow Tex,  an embossed tag, and splashes of gesso snow.  The soft pinks and beiges of the ribbon were just perfect for this snowy scene.


Inside there is another sentiment and an image from the same stamp set.  I used oxide inks and a baby wipe to carefully ink the tree stamp in two colors.  More gesso "snow" here too...and again, I wasn't too careful.  Just be aware that the gesso will smudge the water-based oxide inks, so if you care about that, you can put something over the sentiment to keep it from getting splashed and splattered.

Supplies:

Thursday, November 28, 2019

Happy Thanksgiving!


Happy Thanksgiving!  We are especially thankful to have our son home with us for the Thanksgiving holiday.  We (the three of us) are sharing a meal that would be nearly enough for an army...and there will be lots of leftovers for the rest of the week.  *grin*  We have SO much to be thankful for.  

I wanted today's Stamp Simply project to be one that would be appropriate for Thanksgiving Day, but still inspiring for the rest of the holiday season, or even for every-day, since not all of us are celebrating the holiday today, and also, every single day there is always something to be thankful for.  


This beautiful Prima paper has been one of my FAVORITES for Fall this year, and the colors made it an easy choice for today.  The partially visible wreath that is printed on the paper inspired the inclusion of the sage green colors and the foliage dies for a wreath/laurel layout that would work equally well for a Christmas card.  


Here is a peek at the inside...that flannel print makes me feel so warm and cozy!  Pumpkin spice, apple pie, and all that!  

Supplies:

Thursday, November 21, 2019

My heart belongs to Yooper!


I'm SO excited about our most recent Stamp Simply release!  I didn't even know that this stamp set was in the works, and yet I could not have requested one that would be any more sentimental if I'd designed it myself! 

Unless you're from Michigan, you might be left wondering what in the world is that?!  It is a map (stamp and die!) of "da U.P."  My husband is from the U.P. of Michigan, and for all of his Navy career he was known as "Yooper."  To me, he was not "a" Yooper, but "the" Yooper.  ðŸ˜‚  Stamp Simply is located in the U.P., so this stamp is a very special release for Sharon and her local customers, as well as for my husband, my in-laws, and me!  I have found the U.P. to be a place with a personality all its own, and it will be fun to have a stamp set to celebrate that local flavor.  


The designer papers I've used for this card make me smile, because they remind me of the woodsy decor of the basement of my in-laws' cottage.  Our family has made lots of great memories there over the years, although I will admit that I much prefer to go when there's no snow!  (While he's a Yooper, I'm a GRITS...a girl raised in the South!  I grew up in Cajun southwest Louisiana.  My whole life I have never lived more than a mile north of Interstate 10 except for the six weeks we lived as newlyweds at the Navy Lodge in Norfolk, VA!)

I inked a piece of Kraft paper with blue distress oxide ink and then stamped and diecut the U.P., splashing it with water, blotting, and then splattering with diluted gesso to give it that snowy look.  The tiny heart on the map is over Iron Mountain, my husband's beloved home town.   


I had to do some selective stamping of the sentiments in the set to create the perfect phrase for "my" Yooper...but it was not hard to do at all!  If you're a Yooper too, you'll find plenty of fun sentiments in this set that are great to send from one Yooper to another.  

Supplies:

Thursday, November 14, 2019

Spreading Joy!


Hello again!  Whew, I don't know about y'all, but for me the last few weeks have flown by!  I traveled to North Carolina, then to Tampa, and Oxford, FL.  Last weekend was Orange Park Chorale concert weekend.  It has just been a whirlwind, and it seems like (especially since the time change) the days are passing so quickly! The calendar is filling up, and Christmas will be here before you know it!


After all of that galavanting, it felt great to sit down at the craft table and stamp a pretty card with some lovely pastel vintage papers.  They are SO beautiful and have been a recent favorite! The included vintage images are the sweetest, and our Stamp Simply stamps coordinate perfectly.  This is another of the trees from the set I used last week.  It is especially lovely when embellished with glittering Wink of Stella and Snow Tex.


The boughs from A Godly Man make a beautiful frame for a sentiment from Farmhouse Christmas, carrying the snowy theme from outside to inside.  

Supplies:

Thursday, November 7, 2019

'Tis the Season


Hi everyone!  I'm back with today's Stamp Simply project, a Christmas card and tag combo featuring pretty plaid papers and some of my favorite Christmas sets.  Definitely 'tis the season to get your handmade Christmas cards and gift tags ready for mailing and gift-giving!  


Graphic 45 papers are always spectacular and this particular design is no exception!  I love the traditional Christmas plaid and how the floral paper includes some not-quite-so-traditional colors.  Certainly makes one think "visions of sugarplums!"    


The tree, stamped with Delicate gold, colored with Copic markers, and painted over with clear glittery Wink of Stella was splashed with diluted gesso and dotted with rhinestones to give it that same sugarplum sparkle.  


A printed tag from the paper pad accents the inside of the card, where there's a lovely holiday season blessing stamped in gold.


The tag was so quick and easy to put together using square dies and a printed square from the G45 paper.  There are several of these, so an assembly-line approach to making multiples would be quite time-saving.  I used a circle die and a Cropadile to make a matching reinforcer for the ribbon.  The sentiment at the bottom says "from our house to yours."    

Supplies, all from Stamp Simply:

Thursday, October 31, 2019

Happy Halloween!


Today's  Stamp Simply Halloween project features a darling old-fashioned Halloween scene (or two)!  Vintage Halloween images bring back such sweet memories of when I was a little girl and my older brothers would take me trick-or-treating.  We would go all over the neighborhood and end up at Caraway's Pharmacy where there were always fabulous freaky displays and people dressed in incredible costumes.  There was even a headless horseman on horseback!


It wasn't unusual in those days to receive home-made ooey gooey popcorn balls, rich fudge or crunchy peanut brittle.  I've been traveling a lot lately, so I was happily able to complete the paper-crafting part of this project well in advance, but had to opt for store-bought sweets because of the tight timeline I have in between trips.  (I've just returned from the Southeastern Animal Fiber Festival in North Carolina, and will be heading for the Tampa Bay Ukulele Getaway tomorrow).  


The tag on the candy bucket is made like a little booklet from two-sided paper.  This is one of those KISS projects...keeping it sweet and simple yet still made with lots of love!  Here's hoping that the one who receives it knows how very special they are!  

Supplies:

Thursday, October 24, 2019

The Wonder of Christmas


When you're making multiples for mailing, something fast, flat, and easy is the name of the Christmas card-making game!  It is so nice to find some amazing paper so that meeting those criteria does not mean skimping on style!


Today's Stamp Simply project uses a combination of spectacular Graphic 45 papers, simple traditional stamps (no coloring required!) and beautifully scripted sentiments for a fun Christmas greeting from Santa's North Pole perspective.  There's even a gift tag that could be removed and used to top a gift for Christmas morning.


Inside features Santa's smiling face on a lovely vintage advertisement.

Supplies, all from Stamp Simply:

Thursday, October 17, 2019

Always Give Thanks!


I absolutely LOVED Prima's Spring Farm House papers, and today's Stamp Simply card is using their equally gorgeous Autumn Sunset designer paper, which inspired this slightly unexpected Fall color scheme.  


Several layers of coordinating card stock help to bring out the subtle colors of the pumpkins and greenery in this lovely print. Graduated ovals create a window that allows the colors to peek through, with the sentiment stamped on a pumpkin-colored layer to herald Fall and the Thanksgiving theme.  (It's quite simple to align the ovals...just start with the widest die and the top-most paper, run it through the die cutter, then with that layer and the next layer aligned underneath, position the next smaller die, run it through, and continue working your way down.  The cut of upper layer helps hold the die in place to make the next pass.)


The ovals that were cut in the making of the window on the front of the card were used for the sentiment on the inside.  

Thursday, October 10, 2019

Farmhouse Fun!


If you've been following the Stamp Simply blog, then you already know that we're having a promotional sale on our Farmhouse Signage stamps/dies, and Pierced Heart dies this week!  This is a fun little set with some sweet every-day sentiments.  Our team has been posting some fabulous projects with it, and I'm sharing mine today!  


Halloween always inspires me to make bags and boxes that will hold candy, so here's a little milk carton for some milk duds or milk chocolate covered almonds, or something similar! I used Beate's SCS milk carton box tutorial for the scoring/cutting/folding instructions.


I thought this rusty corrugated tin designer paper from Kaisercraft's Workshop pad was perfect for a farmhouse design.  To go along with that theme, I used Delicata silvery shimmer ink to stamp the ole milk can which embellishes the tag that hangs from the top of the carton.  A few strokes of gold Wink of Stella marker gave the milk can a little dimension, and maybe even the appearance of a little touch of rust.


The same simple design is repeated on all four sides of the carton. Each of the stamped/diecut cows are popped up on dimensional foam adhesive dots.  Along the top, diecut farmhouse arrows point to where the spout opens.  


There's a diecut little heart just underneath the spout on the front. Not a bit of fussy cutting on this project except for a few snips to make the carton as Beate's tutorial clearly explains.  

Fun, fast, cute, and yummy!

Supplies:

Thursday, October 3, 2019

Happy Anniversary!


My husband and I are celebrating our 35th wedding anniversary this weekend so I made an anniversary card for this week's Stamp Simply project!  Isn't this sweet pair of birds a lovely print for a Fall anniversary card!?  I love this paper!  (If you're intimidated by coloring, this kind of card would be right up your alley!  No coloring, very little stamping, mostly die-cutting.)


I kept the layout fairly simple...my husband likes simple, but he knows me!  I could not resist fancying this up a little bit with a flourished frame, a bit of bridal tulle, some greenery, and that single, most important word ever.  :wink:  

The flower I chose is the same soft green as some of the greenery in the floral print, but if you'd rather a brighter splash of color you could certainly use one of the gold Sienna flowers from the same package of sugared minis.  


Inside there's another lovely print from the same paper pad.  I simply adore the French influence here!  One of our favorite, most romantic trips ever was to Paris, and since I'm from Cajun/French SW Louisiana that makes this design special in two ways!   

Supplies: