Thursday, November 24, 2022

Happy Thanksgiving!


Happy Thanksgiving everyone!  I know today is an American holiday, but each and every day is a good day to be thankful so I hope y'all will celebrate along with us!  

My family and I have so much to be thankful for!  Most are simple, everyday things that have to do with treasured relationships, health, hearth and home (and maybe a few stamps and ink, a spindle or wheel or two and some fluffy fiber to spin and knit because creating brings me peace and joy)!  

Our son (who lives in Virginia now) is home for a visit and more than anything that makes my heart happy.  I've been in the kitchen cooking for days already, so this evening we will have a Thanksgiving feast to celebrate being together, sharing the bounty of the harvest and our favorite flavors of the season.  


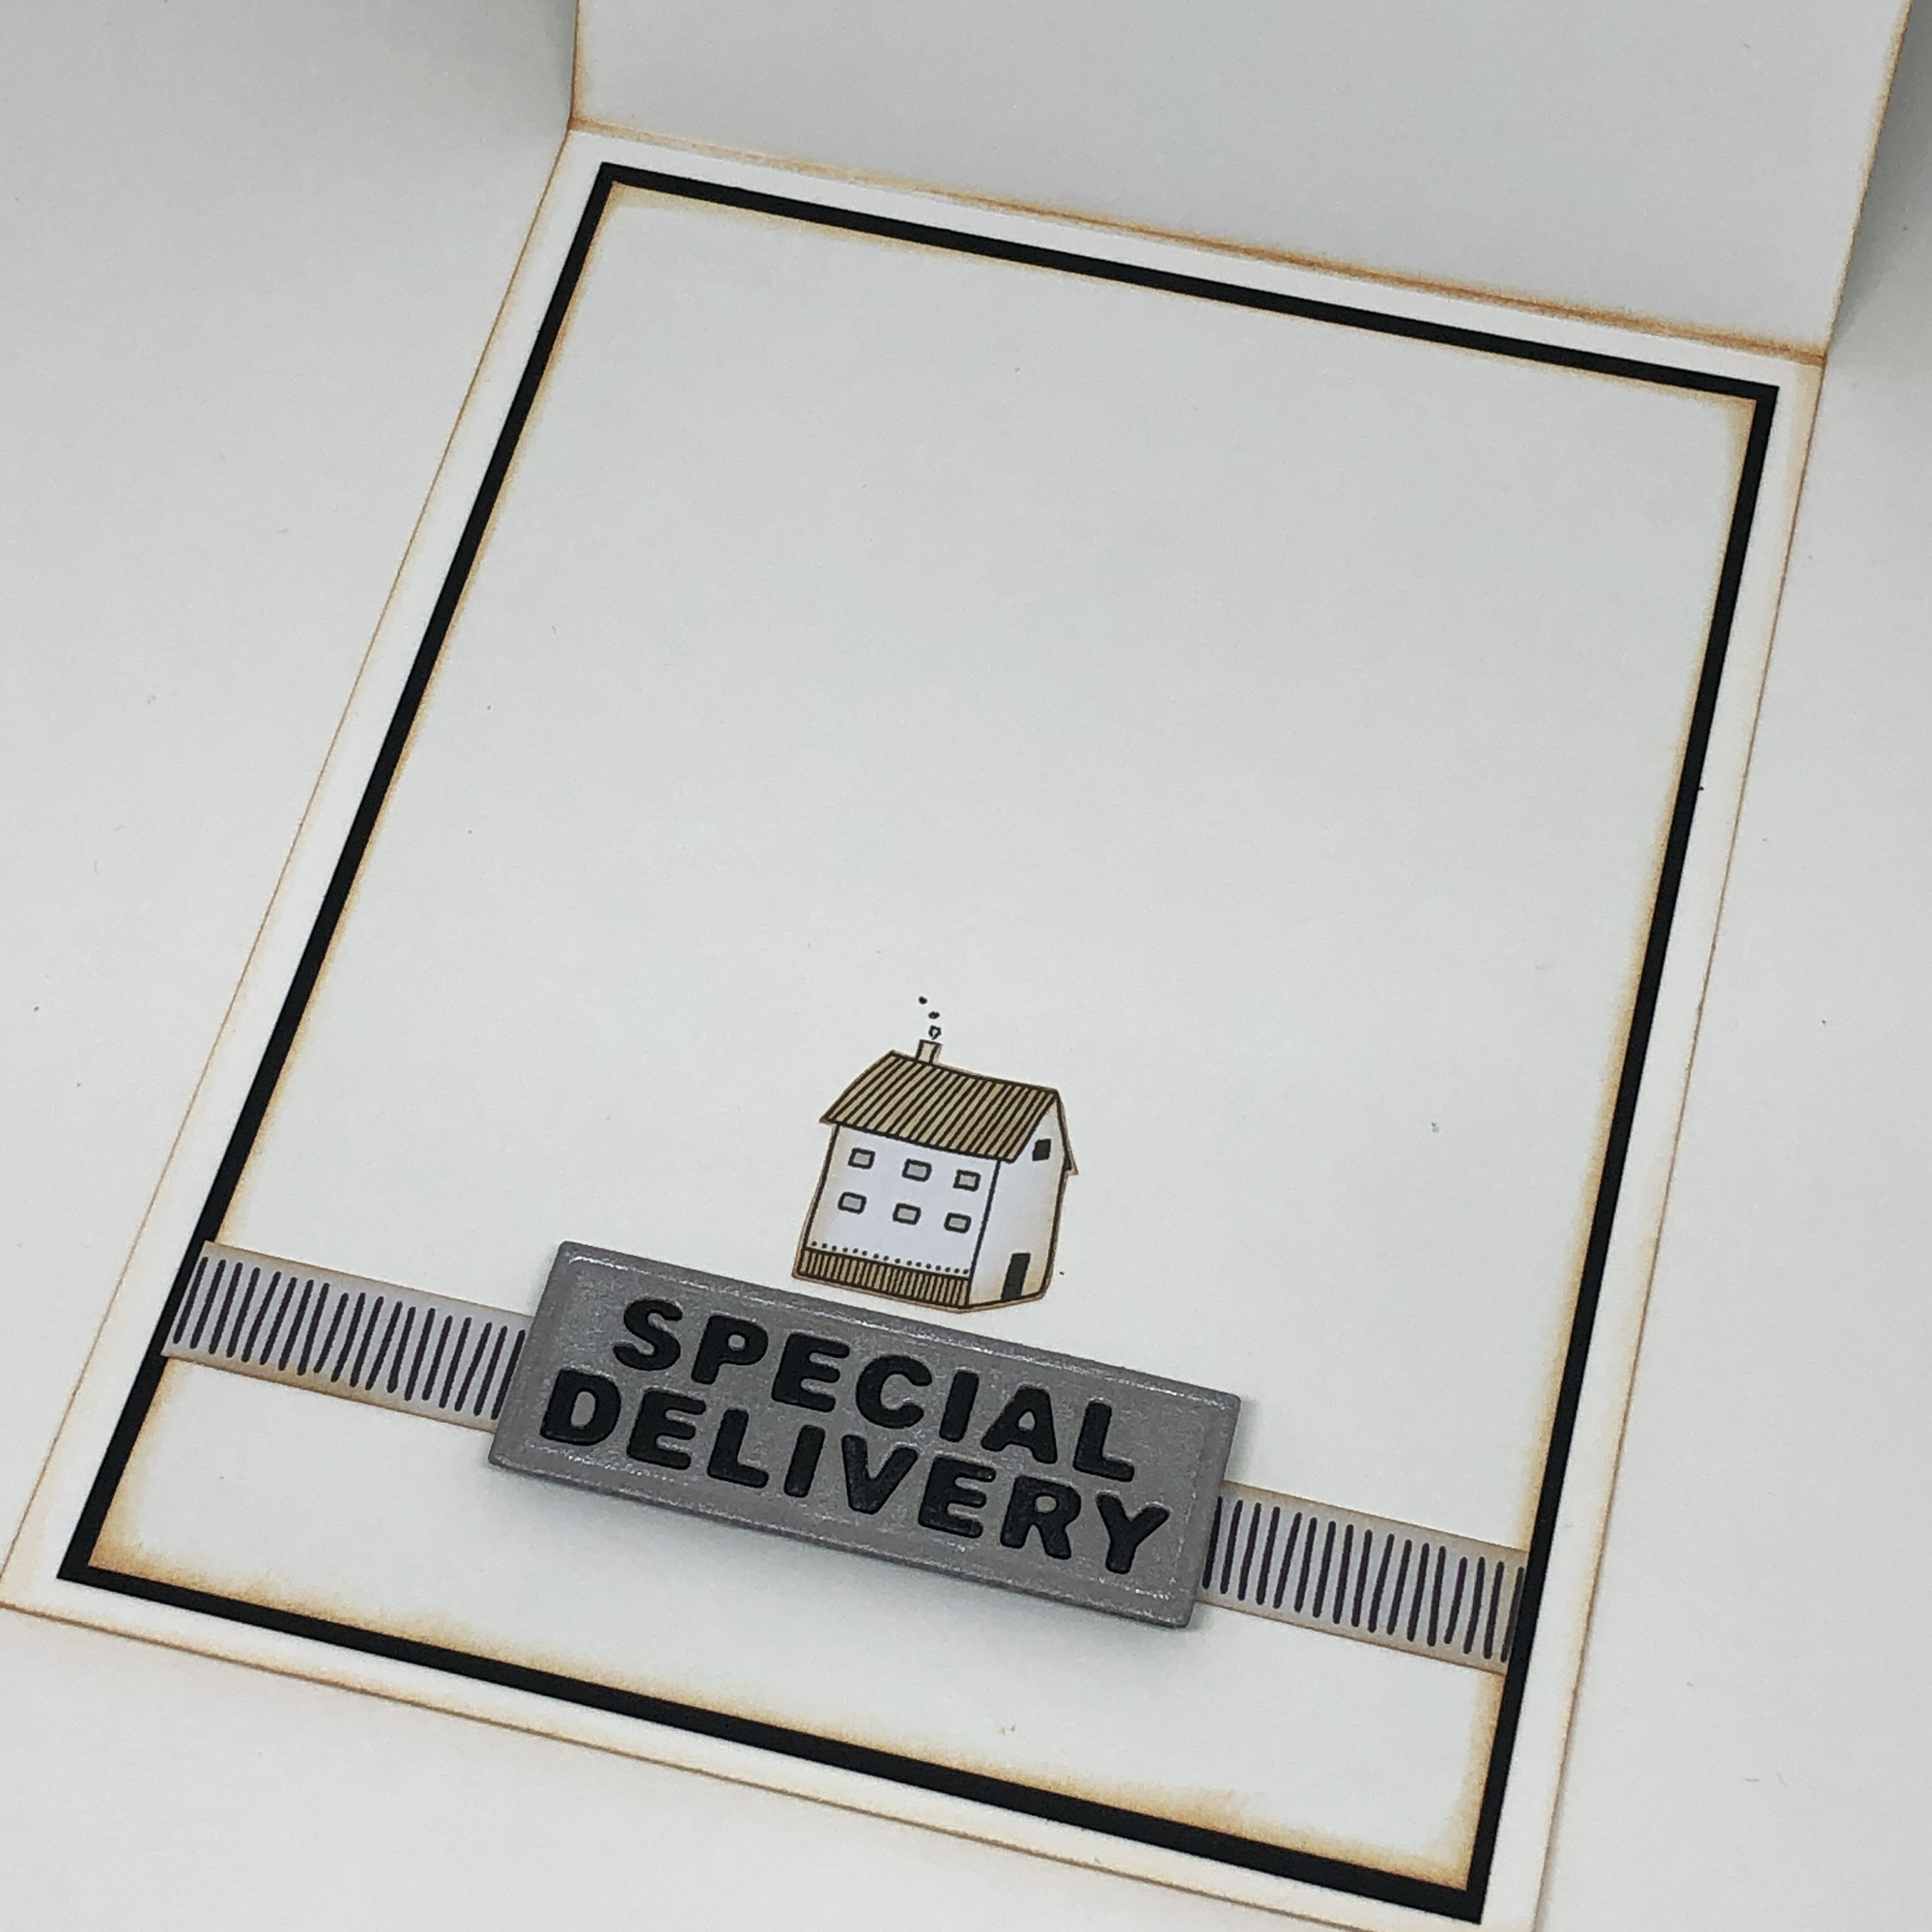
My card for today is a very sweet and simple card given a splash of unusual color (inspired by the designer paper) with Copic markers and some added sparkle with a clear Wink of Stella glitter marker. The oak leaf die cut allows the base layer to peek through the sheet of designer paper, and the sentiment and acorn embellishment add a little dimension that is squishy enough to make it through the mail machines without mishap.  

I hope you have a beautiful day and that it will be the beginning of a wonderful countdown to the end-of-year holidays.  It's such a magical time that seems to rush by in a blur when we'd rather it pass slowly so we can savor it!  Holiday blessings to you and yours!    

Supplies:

Thursday, November 17, 2022

Special Delivery Christmas Gift Card Envelope


For today's Stamp Simply project I had so much fun playing with these our new Christmas Stockings and Mittens bundle and a handful of Tim Holtz dies that interact so perfectly together! There are definitely times when a gift card is the most perfect choice and this is a fun presentation.


I love these non-traditional colors and how the dies mimic elements of the designer paper.  I tied the envelope with black string to create the illusion of a gift which, of course, the card inside actually is.   


The inside is super simple although it did take a little time to create.  The house is fussy-cut from the designer paper with accents added using Copic markers.  The "special delivery" was cut from two colors of card stock with the letters swapped between them.  A little tedious but well worth the effort!  (Of course, one could just leave the spaces of the letters open if so desired!  Lots easier and less time-consuming!)

Supplies:

Thursday, November 10, 2022

With Gratitude


Hi friends!  It's an overcast, blustery day here in Northeast Florida. We are really hoping and praying that "Nicole" won't be a big deal. It is concert weekend for the chorale, so this one kinda caught me a little off guard!  I will be so very thankful when hurricane season is behind us!  

Today's Stamp Simply project reminds me of the Bokeh photography that is often so popular during the snow/holiday season.   There were quite a few tutorials for the paper-crafted version a few years ago.  

I suppose I should call it "faux bokeh" because it is simply a beautiful piece of patterned paper with a few added splatters of diluted ink and acrylic paint underneath a colorful stamped and die cut floral focal point.  


For that focal point, starting from the bottom up:  the sentiment was stamped directly onto the designer paper with shimmery ink and then heat-embossed with gold embossing powder.  There is also a heat-embossed shock of wheat...it's hard to see but adds to the overall shimmer and sparkle of that bottom layer.

The die cut leaves were cut from card stock that had been smashed into puddles of diluted distress inks (mahogany and walnut) and then pressed into and dragged across a Delicata ink pad.  The "berries" are cut from shimmering gold card stock.

The pretty pumpkins on top were stamped and colored with Copic markers, then the die-cut edges sponged with tea dye distress ink to soften the contrast against the darker background.  

Then the entire card (inside and out) was splashed with diluted distress ink and white acrylic paint.  I tried to avoid splashing too much on that focal image because Memento ink and water don't necessarily get along all that well!


The inside is pretty enough to be an outside!  I stamped the leaf border with Memento ink, colored it with Copic markers, and added a hint of tea dye distress ink to its background.  Splattered the whole thing with diluted distress inks along with the front, and then added another die cut leaf next to the sentiment.


Here you can see how beautifully shimmery it is!  (I could not capture that for the card front no matter how hard I tried...you could either see the sentiment or the shimmer but not both!)

Although this card is dimensional, it does not have any pearls, rhinestones, or ribbon, so should be just fine to send through the mail without having it hand-cancelled.  It would be so pretty to glue one of those die cut leaves to the outside of the envelope so it would coordinate with the card inside!  

Thursday, November 3, 2022

Tea Time


Hello friends!  Happy November!  

This week our Stamp Simply team is sharing paper-crafting gift ideas for the upcoming holidays.  Mine is born from the idea that we all need to preserve some quiet time within the hustle and bustle of the season.  (This is a photo-heavy post, with some "ambiance" photos and also some "light box" photos so that the details are more clearly visible).  

Already (especially with Halloween now behind us) the rush is on...the inbox is bursting with advertisements, the pressure to find the perfect gift is ever-present (please pardon the pun!), and the rush hour crush is already awful and sure to get worse as the all-important celebrations draw near.  Just thinking about it makes me want a break!  How about you?!  

Just set aside some time to make one of these tea towers for a friend and one for yourself.  Fill it with your favorite flavors...herbal and/or caffeine for when you need it!  Then when the stress closes in, you can just take a deep breath and enjoy a quiet moment with a steaming hot cup of tea...it will work wonders!  (Here's the link to the tutorial for how to trim and score a sheet of 12 x 12 inch card stock to make this project.  I followed the dimensions of the tutorial but simplified the layers on mine).


It's especially nice to settle in with a hot cup of tea next to a twinkling tree and a warm, crackling fire to meditate on the blessings of the season.  A pretty presentation makes a treat taste even better imho!    


I used several sheets of designer paper from Studio Light's "Sending Joy" to decorate this box.  The border at the top looked like cookies and tea spices and had a pretty tartan bow which inspired the tartan plaid embellishments.  The cookie frosting is a beautiful silver-white blue, so I backed the designer paper with shimmery metallic silver card stock and used silver ink for all of the stamping.  I also sponged  silver ink onto all of the edges of the paper and splattered it everywhere.  In real life it is so elegant and beautiful!  


The cups are die cuts that are embellished with stamps or tiny die-cut snowflakes, rhinestones and stamped/die cut tea tags.  


There is a to/from tartan heart on the back.


The top has beautiful sheer silver bow accented with sprigs of Christmas greenery and a sparkly clear button.  

Supplies: