Thursday, August 3, 2023

Autumn Silhouettes


This beautiful Craft Consortium Ink Drops Organic designer paper made me think of a peaceful Louisiana (or maybe Florida 😊) pond, its waters swirling with duckweed, tadpoles and frogs, a stand of graceful cattails softly swaying in the breeze, just the kind of scene that might appeal to the fisherman or hunter.  

It seems that the older we get, the more often we need to send sympathy cards.  Sometimes it is easier to create a card with the lost loved one in mind.  On the other hand, sometimes it can be completely  overwhelming, so it is a good idea to try to have a few masculine and feminine designs on hand for when the creative muse is saddened and stifled.  


I used a combination of Memento ink and distress oxide ink to stamp some nice dark cattails, then added some glitter ink to the flower portions only.  (Do any of you still have any brown Sparkly Fluff from way back when?!  It would be a perfect alternative here!)


The same inks were used in layers to stamp the sentiment on pearlescent card stock.  Be sure to let the ink completely dry before you handle it or it will smear!  


I wanted the pearls to be gold so I gave some champagne pearls a little swirl with a gold Copic marker.  Now they match perfectly!

Supplies:

Thursday, July 27, 2023

Because He First Loved Us


Several pads of absolutely GORGEOUS designer papers arrived in the mail this week and I could hardly decide which one to use first!  I finally settled on one sheet from TWO pads because I thought they looked really beautiful together!  


The soft colors of the background paper have just a tint of that brighter pink along the bottom edge, and the intensity of the hot-pink-red of the heart really brings your focus there and makes the Cross stand out front and center.  (Hopefully you can see the embossing on the cross.  It was a bit hard to capture on that pearly gold paper.)  The clean and simple style really brings emphasis to the few elements that are there.  No distractions!


Three rhinestones...for the symbolism and for the sparkle!  And one more for the center of the Cross.


Here's the inside, with a strip of that same background paper and a heart to go along with this lovely scripture.

Supplies:

Thursday, July 20, 2023

Expecting a Miracle!


For this week our Stamp Simply design team is focusing on wreaths using some of our wreath sets and any other sets that might inspire a card-maker's creativity.  For today's slimline card I combined our Spring/Summer Seasonal Wreaths set with Welcome Baby, and sentiments from our Stick Family set.  


The birth of a baby is one of the most miraculous events I can think of, so I absolutely LOVE this sentiment.  Here it's stamped on a fishtail banner, framed by a couple of the dies from our Welcome Baby Basics Die set which were colored with Copic markers.  


The wreath was stamped on vellum which was carefully adhered in places that would be hidden by the die cut-outs layered on top. That onesie and bib, die-cut from designer papers, is just the sweetest ever!


The "due date" numbers are from one of our Stick Family sets stamped onto a Tim Holtz die cut tag. (Evidently this got accidentally misted by a water spritzer I used when creating the edging on the dark green mat underneath, which used matching Distress oxide ink.  Oops!).  I only put the year, but of course, you could be more specific if you know the particular due date or scheduled induction/birth/Cesarean section/adoption.  


The inside of the card features one of the printed squares from the Echo Park It's a Girl paper pad, along with another Stick Family sentiment and Welcome Baby die-cut.  I love how these papers, dies and sentiments work so well together!  

Supplies:

Thursday, July 13, 2023

Monochromatic Fancy Fold


Ever so often I browse Pinterest for interesting card folds, and lately I've seen several iterations of this one.  I love these cards that look intricate when in fact they are not that hard to make. (The instructions for this card fold are here...just follow the link to her previous post to find the folding and scoring dimensions.  Play with the mountain/valley folds to find the orientation you like best).


This gorgeous Craft Consortium Ink Drops Earth designer paper is such a calming, peaceful backdrop for Stamp Simply's God Will Take Care of You stamp set.  The layout of the folds works perfectly with this long narrow sentiment.  


When you open the card, more details emerge.


I used Memento ink and Copic markers for the focal image.  I dragged some gold ink along all of the paper edges to give it just a little more contrast. 


This tag is completely hidden when the card is folded, making its appearance when the card is fully opened.

Supplies:

Thursday, July 6, 2023

Masculine Autumn Silhouettes


It is soooo hot down here!  Our thermometer actually read 104 degrees a few days ago but I'm not sure about its accuracy!  I need to reset and test it!  (The heat index here as I write is 108 according to The Weather Channel).  Our son is visiting from Virginia and commented about how much the humidity influences one's tolerance for the heat.   He's lived up there for about a year, and already is not acclimated for that intense Florida heat. 

I needed to stamp a card, and that Ink Drops Sunset pad was on the top of the stack when I went upstairs to the studio...this card is the result.  Gotta love it when a card idea effortlessly manifests itself!


These two Craft Consortium designer papers work so well together and make this such a fast and easy project to put together.  A few passes through the die cutting machine, a little stamping (no coloring!) and splattering and it's done!


I love this sentiment!  Even though this card is all about the summer sunshine, I thought it was a good fit!

Supplies:

Thursday, June 29, 2023

Happy Independence Day!


It's almost the 4th of July weekend, so I could not resist giving our Stamp Simply patriotic bundle one last hurrah for the holiday! Here I have paired it with our Spring/Summer Seasonal Wreath bundle...I stamped the wreath on some Sunset paper, going for the look of a straw wreath form wrapped with a few grapevines and accented with that beautiful eagle, some stars and pearls. (I've used grapevine wreath forms and straw wreath forms before, but have never combined them IRL, so maybe now I'll have to give that a try!) 


For me, our new patriotic set with the majestic eagle has become this year's Summer favorite so far.  It looks gorgeous on just about any background whether colored traditionally or in patriotic red, white and blue.   I love the way it looks here against an "evening fireworks" kind of background, a selection from Ink Drops Ocean.  

I used distress markers to apply color directly to the 4th of July stamp from Patriotic Sentiments.   


I used sparkly Delicata ink to stamp a sprinkling of stars on the inside, with one die-cut star cut from Sunset Ink Drops paper. Couldn't resist splashing a little more gold on the card inside and out, especially considering that there will be fireworks this weekend!  

Supplies:

Thursday, June 22, 2023

Patriotic Shadow Box Card


The Fourth of July is right around the corner, so today's project has a patriotic theme.  If you have visited the homes of any members of our military maybe you've seen an "I love me" wall or corner used to display awards and certificates.  That's the inspiration for this patriotic shadow box card.  

Before I share how this card was constructed, I'd like to share this:


To make the shadow box I selected two sizes of Spellbinders' squares to use as both templates and dies.  First I aligned one inside the other on my designer paper, and traced inside each with a pencil.  The distance between the two dies will determine the depth of the shadowbox.  (This will not collapse to fold flat, so if you make this dimension very large, the card will require a box for mailing). 


Next, use a scoring tool (I used a ruler and a ball-tipped dry embossing tool) to score along the outlines of both squares.  Then, with a metal straight edge and an Exacto blade, cut the largest square diagonally from corner to corner making an X that divides the square into four flaps.  

If you're planning to stamp a sentiment directly onto your designer paper, you'll need to finish your stamping before proceeding further with the construction of the shadow box.   

Finally, fold the flaps mountain/valley style so that the shadow box walls are perpendicular to the card base.  Adhere the ends of the flaps and conceal them by covering the center of the shadow box with die-cut squares that will contrast/complement your focal design.  For my card I used our more traditional version of the US flag to go with the Pledge of Allegiance stamped below.  


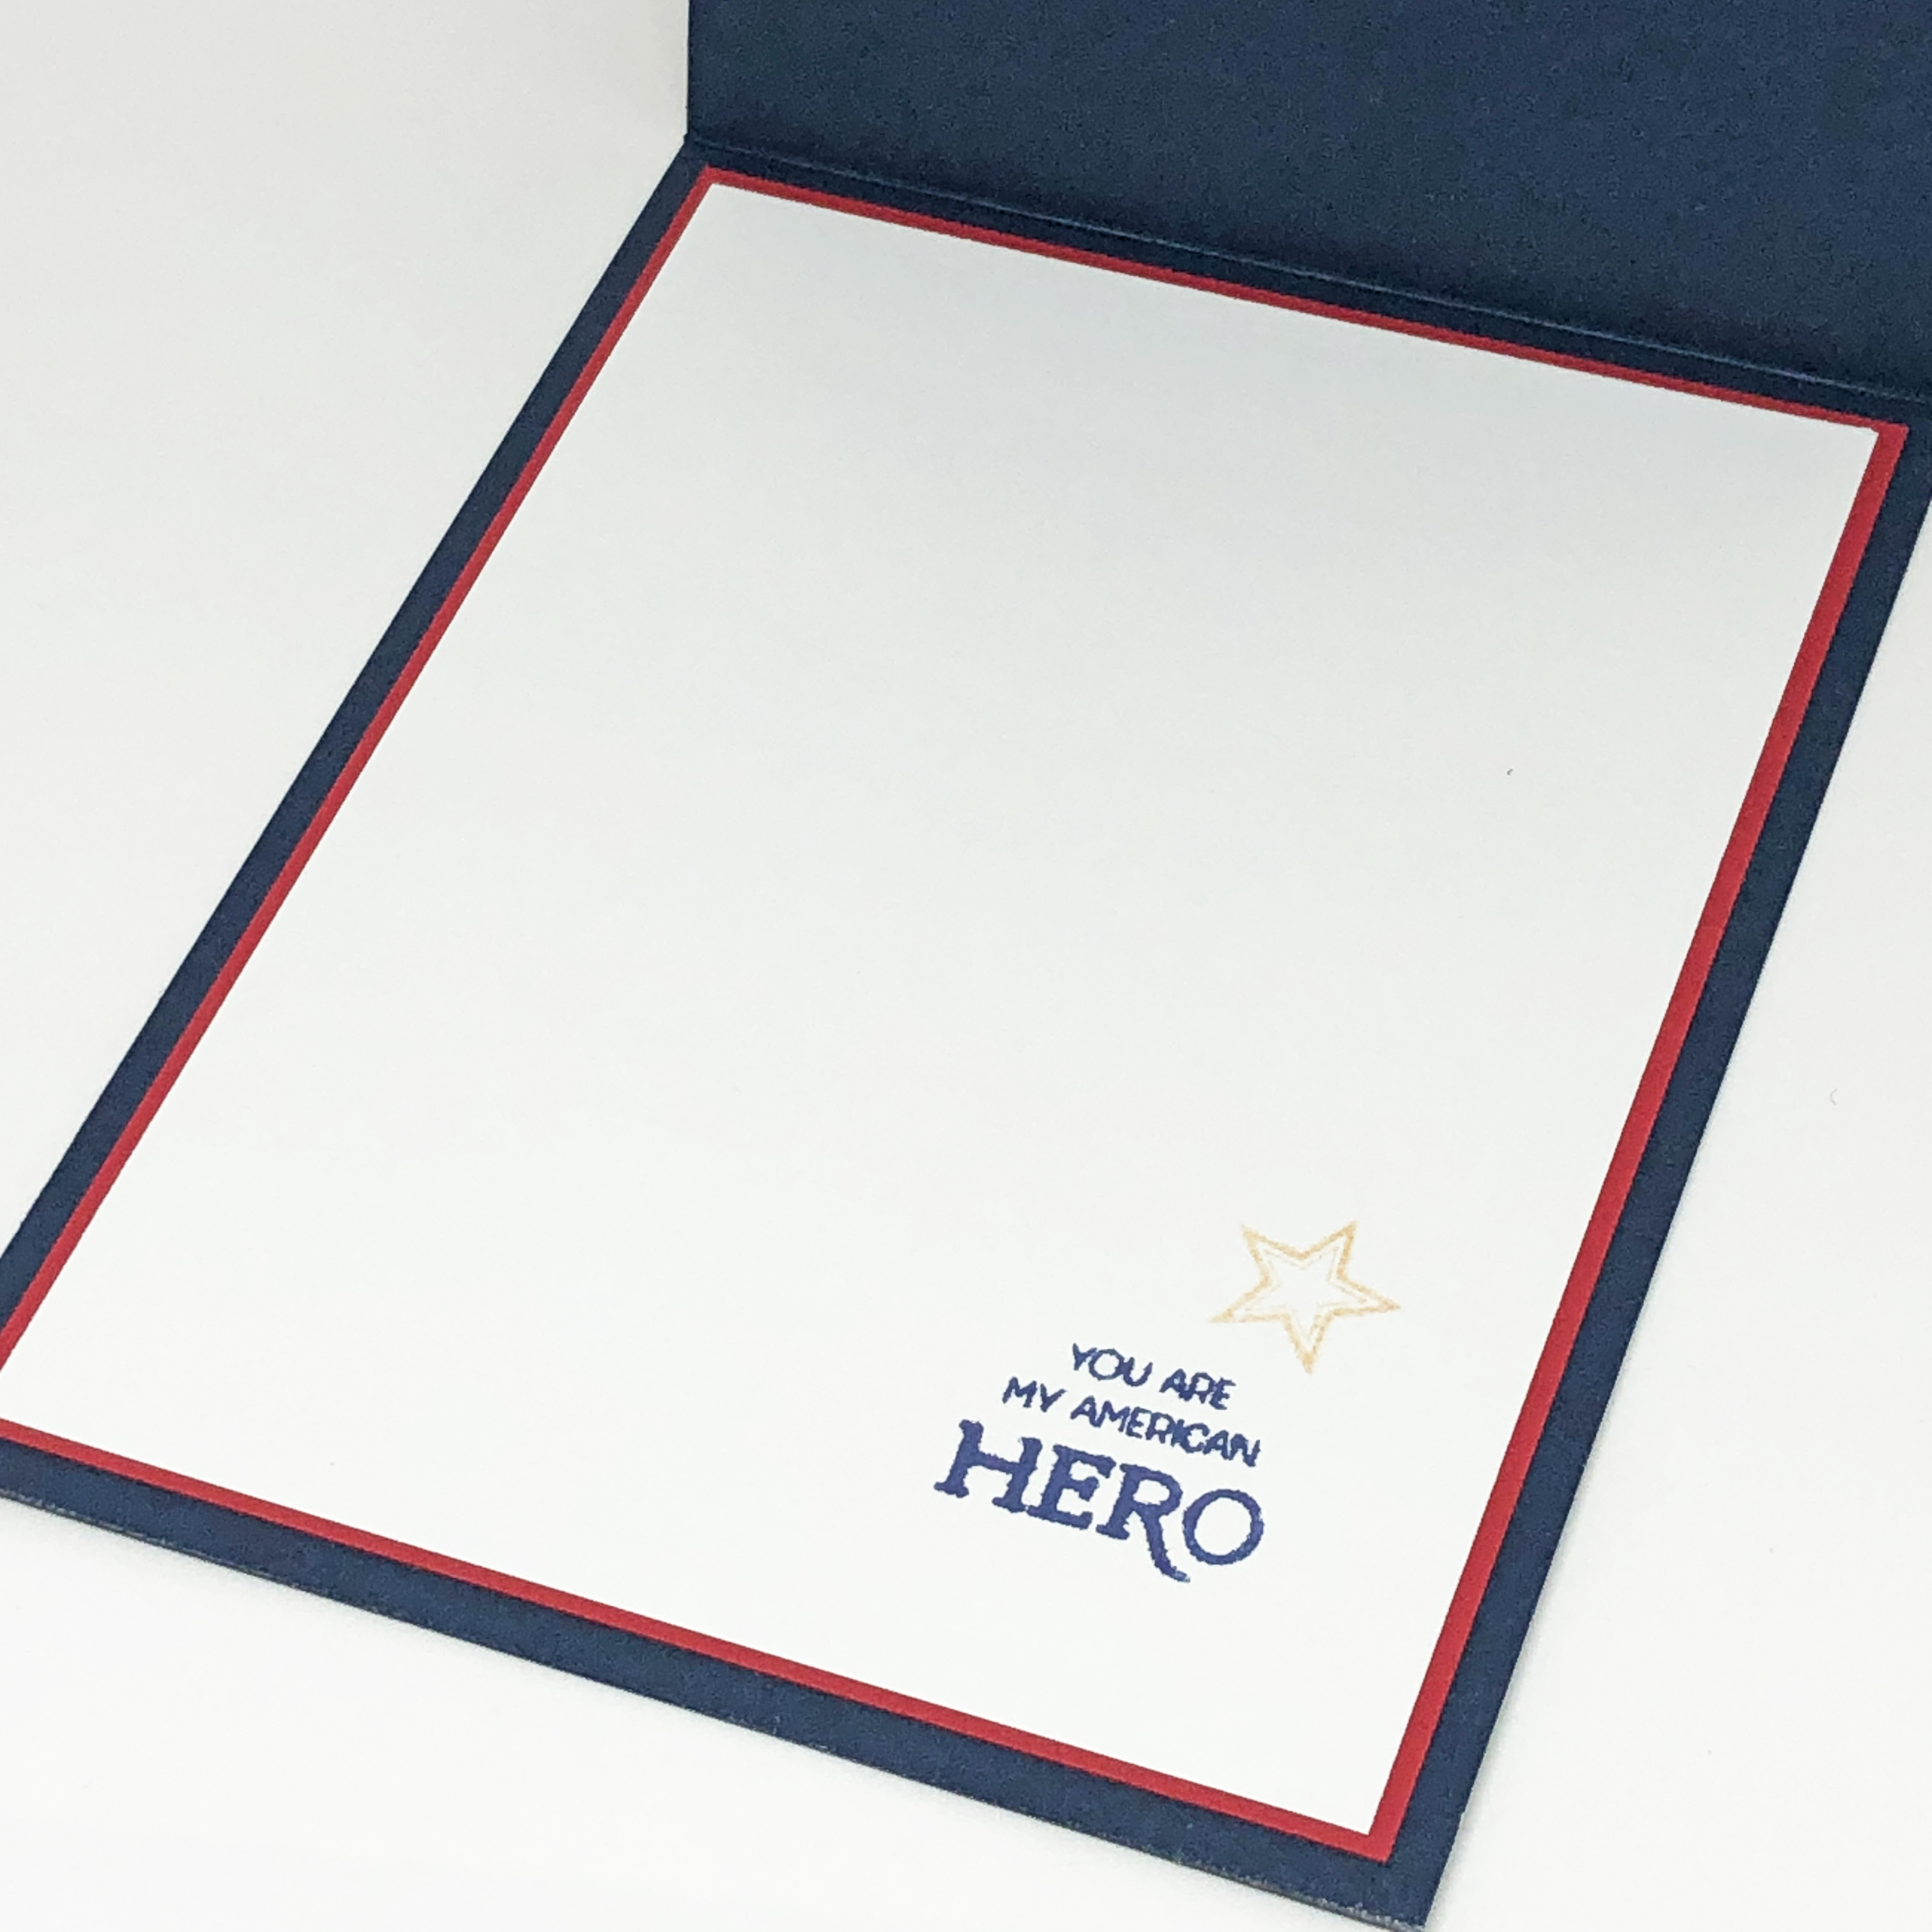
The USA stamp, the American Hero sentiment and the tiny outline star are all from our Old Glory set.   I love interchanging the various elements of our awesome Full Patriotic Bundle which includes a more stylized version of the flag along with a set of stars, an eagle, lots of sentiments, and various coordinating dies.  

Supplies:

Thursday, June 15, 2023

A Botanical Specimen


I found a real biological specimen (a cicada, not sure I've ever seen one IRL before! photo at the end of this post!) on our sidewalk yesterday, so today's Stamp Simply project is a Botanical Specimen card!  I've used several sets from one of our floral bundles to make this card.  The daffodil is one of my favorites, and I love this bundle because (besides the beautiful images)/(like so many of our sets) the sentiments work interchangeably so well together.  I adore this font combination!  And honestly, just about anything Tim Holtz is another favorite!


I wish I would have thought to make the inside of the slide from vellum or transparency.   I am gonna have to make another one just to see what it would look like!

And OH!  Voice of experience on those little tiny numbers/letters on these TH dies...tape the back side with tape!  Do not use glue because it seeps through and makes a mess!  I actually experimented adhering them three different ways.  Above, I just removed the tiny letters and let a darker piece of card stock peek through.


Next I left the letters in place and glued the whole thing to another piece of card stock.  Even trying to use the minimum amount of glue, it seeped through and I had a hard time (with a gum eraser) trying to un-stickify it!  I still haven't gotten it all off!


So finally, plain ole Scotch tape to the back side is what worked the best!

The bonus for a card like this is that even though florals are generally thought of as feminine, this streamline no-frills version would really work for a guy as well.  

Supplies:
And just in case you are curious:  


Thursday, June 8, 2023

Simple Ordinary Things

My clean and simple card for this week is about everyday reminders seen in simple, ordinary things...like the sparrow in the bushes outside your home.  All around us every single day there are visible reminders of unseen spiritual things with simple but profound messages if we will just slow down and open our eyes, hearts and minds.  


Sometimes when life gets busy or feels complicated or overwhelming we forget to look, and a card with a gentle reminder will nudge us to remember to seek those moments of quiet solace. 


I chose to ink all the edges of this card with distress ink and splatter the papers with distress oxides.  Without those details this card would have been even faster to assemble!


This is one of my favorite SS stamp sets because of its beautiful imagery and comforting scriptures.  The delicate leaves/branches and the sweet birds are quite lovely and they're not difficult to color!  And then there's that swirling music staff!  After all, the name of my blog is "With a Stamp and a Song!" 

Supplies:

Thursday, June 1, 2023

American Eagle Dad!

When I first saw our American Eagle stamp set I knew that I'd have to make a "leather" jacket with that iconic eagle!  It goes perfectly with this cool embossed metal designer paper which is probably one of my very most favorite masculine prints ever!  

I stamped the eagle on a 5.5 inch square piece of copy paper and made a rough sketch of a jacket with a pencil, inking in the lines with a black marker when it felt like the proportions were working. I then made two copies of the template on card stock, one to leave "whole" to use as a base for the paper pieced one made out of "leather" embossed card stock.  (Make sure to label the pieces of the one you plan to cut apart so you know what goes where and which is the right side!  If you click on my sketch you should be able to print it actual size if you want to use my template).  


Keeping the jacket's proportions correct meant that the jacket sleeves would overhang the 5.5 inch card base, so I opted to cut a 7.5 inch square base and glue the 5.5 inch card into the center of it.  That gave the jacket room to "breathe" and also provided the opportunity to add a border  of Stars and Stripes which really boosts this card's curb appeal!  


I wanted to give another option for those of you who might not have leather textured card stock.  This black jacket version was made by dampening thin black card stock with a spritz of water and then crinkling it over and over to get the desired effect.  With thicker card stock it looks even better to actually peel the layers of dampened card stock apart...and that produces an effect that almost looks like suede!


Here's the inside of this one with brick textured paper.  I couldn't decide what to use for a border (thought I had some screw brads from way back when but I couldn't find 'em) so I just changed the placement of the sentiment on this one.  

Supplies for tan "leather" American Eagle jacket card:
Supplies for black "suede" American Eagle jacket card: